
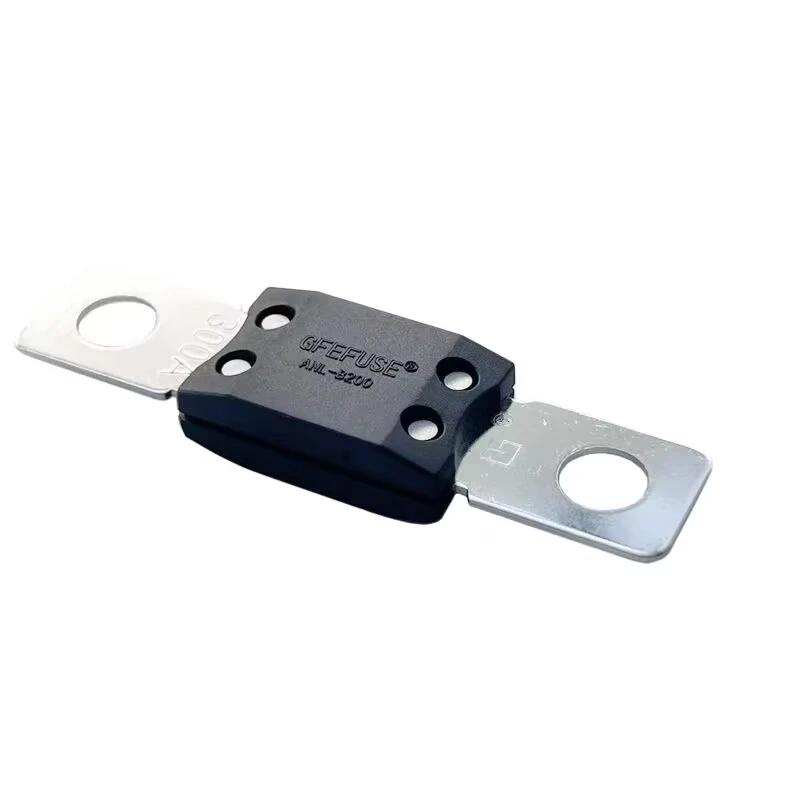
A bolt down fuse is one of the few protective devices whose performance depends on how well somebody with a spanner did their job. The same device, in the same circuit, can run cool for fifteen years or cook itself in eighteen months, and the difference is usually nothing more than the torque on two nuts and the condition of the surfaces underneath them. This article covers why torque is a protection issue rather than a fitting detail, what under- and over-tightening actually do, and how to build a repeatable installation procedure.
Why Torque Is a Protection Issue
The job of the bolted joint is to create a large-area, low-resistance metal-to-metal contact that stays that way for years. Electrical contact happens only at microscopic high points on the two surfaces. Tightening flattens those points, spreads the contact area, and squeezes out the air and oxides that would otherwise sit between the metals. Contact resistance is not a fixed property. It depends on contact force, surface condition, and the materials involved. A joint that is correctly made might measure in the tens of micro-ohms; the same joint made badly can be an order of magnitude worse. At the currents these devices carry — routinely hundreds of amperes in storage, traction, and industrial DC — that difference matters enormously, because the heat generated scales with the square of the current multiplied by the resistance.
What Under-Torque Does
Under-tightening leaves a high-resistance joint. Current flows, the joint heats, and then a destructive feedback loop begins. Heat accelerates oxidation of the contact surfaces. Oxide has higher resistance than clean metal, so resistance rises, so more heat is produced, so oxidation accelerates. Meanwhile every thermal cycle — load in the morning, no load at night — expands and contracts the joint and lets it relax further, reducing contact force again. The end state is familiar to anyone who has opened a failed enclosure: discoloured terminals, a brittle or cracked insulator, and sometimes a device that has opened with no fault current anywhere near its rating. The device did not fail. The joint did, and the device simply responded to the heat it was sitting in. Under-torque also produces intermittent behaviour, which is the worst kind to diagnose. The circuit works perfectly until it is under sustained load, then misbehaves, then recovers.
What Over-Torque Does
Over-tightening is less discussed but equally destructive, and it fails in a different way. Excessive force can deform the terminal, thinned contact tabs can crack, and the fuse body or its ceramic or plastic housing can be stressed or fractured. A hairline crack in a body is not visible from outside and becomes a moisture and contamination path. Over-torque can also extrude the soft plating on a terminal, squeezing it out from under the contact area and leaving a thinner, more resistive interface than a correctly tightened joint. And on repeated service, an over-stretched bolt yields and no longer provides the clamping force it appears to.
Surface Preparation Matters as Much as the Number
You can torque perfectly onto a dirty surface and still get a bad joint. Good practice is simple:
- Contact surfaces should be clean, flat, and free of oxidation, grease, and old plating damage
- Lightly abrase heavily oxidised surfaces rather than relying on torque to break through
- Do not apply grease unless the manufacturer specifies it, and if you do, use the specified compound
- Replace hardware that shows heat discolouration, thread damage, or loss of plating
- Never stack multiple lugs under one terminal unless the assembly is rated for it
Flatness deserves particular attention. A lug that is bent, or a busbar that is not seated square, produces a joint that is tight at one edge and loose at the other. Torque readings will look fine; the joint is not.
Hardware, Washers, and Stack-Up
The fastener assembly is part of the electrical path, not just a clamp. Use the hardware the manufacturer specifies or approves. That means correct thread size and grade, and the correct washer arrangement — typically a flat washer to spread load and, where specified, a spring or serrated washer to maintain force through thermal cycling. Pay attention to stack-up order: busbar, then lug, then washer, then nut, in the sequence the drawing specifies. Getting the order wrong changes how load is distributed. Also watch for mixed metals; dissimilar metal contacts need the right plating or interface treatment to avoid galvanic corrosion over years of service.
A Repeatable Tightening Procedure
For any installation that matters, standardise the method:
- Confirm the specified torque from the manufacturer's data for the exact device and terminal size
- Use a calibrated torque tool, not a guess with a socket handle
- Clean and inspect both contact faces before assembly
- Seat the joint square, then tighten in a cross or staged sequence where more than one fastener is involved
- Bring torque up in stages rather than in one movement
- Mark the fastener so that later inspection can see if it has moved
- Record the value used, particularly for large or safety-critical assemblies
Avoid generic torque tables for this work. The right value depends on terminal material, plating, thread size, and the device construction, and it should come from the device manufacturer rather than a chart found online.
Verification After Installation
Torque is not the end of the job. Confirm the result:
- Re-check torque after the first thermal cycle, once the joint has settled
- Measure millivolt drop across the joint under load and compare with the manufacturer's guidance or with identical joints elsewhere in the assembly
- Use infrared inspection during commissioning and at planned intervals, comparing similar joints under similar load rather than looking for an absolute number
- Investigate any joint that is hotter than its neighbours, even if it is within nominal limits — a temperature difference between identical joints is a finding
That last point is the one that catches failures early. Joints in the same assembly, carrying the same current, should sit at similar temperatures. One that does not is telling you something.
Summary
Correct torque produces a low-resistance, stable joint that will still be stable after a decade of thermal cycling. Under-torque starts a heat-and-oxidation loop that ends in a damaged device and a damaged enclosure. Over-torque cracks bodies, deforms terminals, and extrudes plating. Use the manufacturer's value, prepare the surfaces, use the specified hardware, and verify afterwards.
About Our Bolted Protection Range
GFEFUSE is the brand of Dongguan Gongfu Electronics Co., Ltd., an electronic protection device manufacturer established in Dongguan, Guangdong in 2013. Our integrated development, production, and sales team operates five advanced production lines with thirteen R&D engineers, and our products are exported to customers overseas. Our bolt down fuse options cover high-current DC applications in storage, traction, and industrial power, and they are normally specified with a matched base from our bolt fuse holder range so that terminal geometry, stack-up, and torque recommendations are verified as a set. Vehicle platforms frequently pair these with our EV fuse range, and the wider high voltage fuse portfolio covers the rest of the DC chain. Products carry UL, cULus, TUV, CE, and CQC certification and comply with RoHS and REACH directives, serving new energy, power equipment, automotive electronics, communication systems, and consumer electronics.
Conclusion
Hot spots in bolted protection assemblies are almost never caused by the device and almost always caused by the joint. Torque to the manufacturer's value with a calibrated tool, prepare the surfaces properly, and verify with millivolt drop and infrared inspection. Do that, and a bolt down fuse will quietly do its job for the whole service life of the installation.
Send us your current rating, busbar or lug geometry, and mounting configuration. We will confirm the right device and the matched base, along with the torque guidance for your assembly.
Frequently Asked Questions
Practical answers on installing bolted high-current protection correctly.
How much torque does a bolt down fuse need?
Use the value published by the device manufacturer for the specific model and terminal size, applied with a calibrated tool. Avoid generic torque tables: the correct figure depends on terminal material, plating, thread size, and body construction.
What causes hot spots on a bolt down fuse?
Almost always a high-resistance joint from under-torque, a dirty or oxidised contact face, or a bent lug that does not seat square. Over-torque can also cause damage by deforming terminals or cracking the body.
Should I re-torque after installation?
Yes. Re-check after the first thermal cycle, because joints relax as they settle. Periodic inspection afterwards, ideally with infrared comparison against similar joints under similar load, catches problems before they become failures.
Do I need washers under the nut?
Use the washer arrangement the manufacturer specifies. Typically a flat washer spreads load and, where specified, a spring or serrated washer maintains clamping force through thermal cycling. Do not improvise the stack-up.
Can I reuse hardware after a joint has overheated?
No. Discolouration indicates the metal has been annealed or its plating damaged, and the fastener may have lost clamping force. Replace the affected hardware and re-prepare the contact surfaces.